
How to Remove the Stem of a Strawberry With a Straw?
I’ll never forget the first time I watched a pastry chef prep two quarts of strawberries in under a minute using nothing but a straw. As someone who’d been painstakingly hulling berries with paring knives and losing precious fruit to imprecise cuts, this revelation felt like culinary magic. After years of testing this method to remove the stem of a strawberry with a straw in my own kitchen and teaching it to countless cooking students, I can confidently say this is the fastest, most efficient way to prepare strawberries while maximizing your yield.
Why the Straw Method Outperforms Traditional Hulling
Understanding the mechanics reveals why this works so brilliantly:
- Precision targeting: Removes only the stem and hull
- Minimal waste: Preserves maximum edible fruit
- Speed advantage: Processes berries in seconds
- Safety benefit: No sharp knives required
Key Strawberry Anatomy Terms
- Calyx: The green leafy cap
- Hull: The white core beneath the stem
- Receptacle: The fleshy part that becomes the fruit
- Achenes: The tiny seeds on the surface
Step-by-Step Straw Method
Choosing the Right Equipment
- Straw type: Standard plastic drinking straws work best
- Straw diameter: Approximately ¼ inch (6mm) ideal
- Straw stiffness: Avoid overly flexible or paper straws
- Berry size: Medium to large strawberries work best
The Foolproof Process
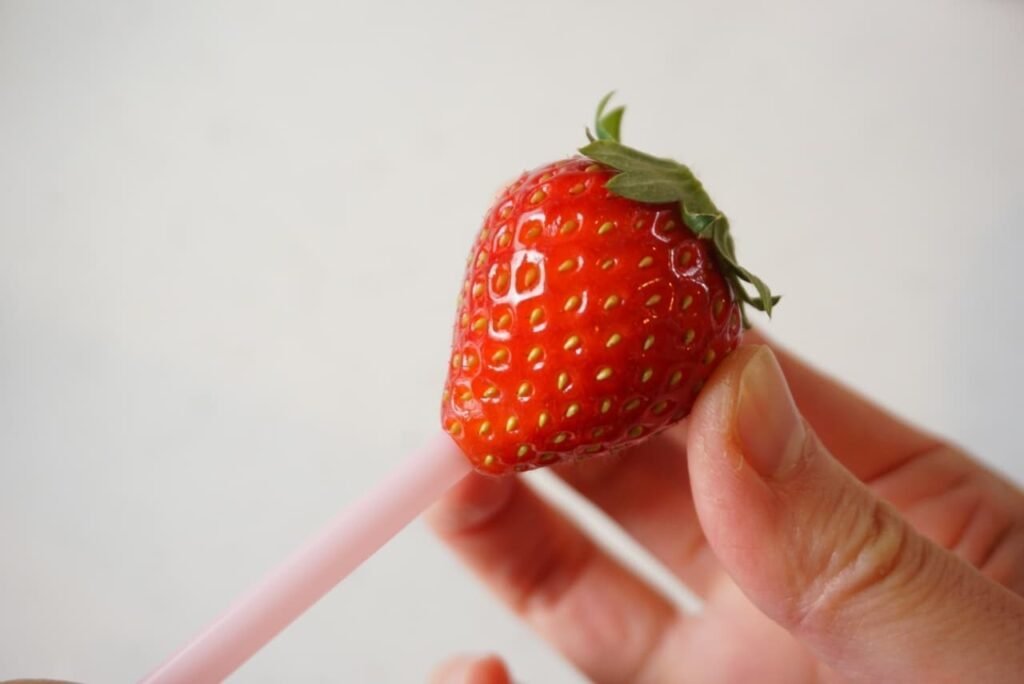
- Hold strawberry in non-dominant hand
- Position straw at the tip of the berry (opposite stem end)
- Push firmly straight through the center
- Aim directly toward the stem base
- Continue pushing until straw exits through stem end
- The stem and hull will be cleanly removed inside the straw
Pro Tip: Twist the straw slightly as you push for cleaner removal
Strawberry Stem Removal Method Comparison
| Method | Time per Berry | Fruit Waste | Safety | Equipment Needed |
|---|---|---|---|---|
| Straw Method | 2-3 seconds | 5% | High | Drinking straw |
| Paring Knife | 10-15 seconds | 15% | Medium | Sharp knife |
| Huller Tool | 5-7 seconds | 10% | Medium | Special tool |
| Twist Method | 3-5 seconds | 20% | High | None |
The Science Behind Clean Removal
Understanding why this works so effectively:
- Cylindrical force: Uniform pressure removes core cleanly
- Shear strength: Straw edge cuts through core tissue
- Contained removal: Core remains inside straw
- Structural integrity: Straw maintains shape under pressure
Troubleshooting Common Issues
Problem: Straw bending during insertion
Solution: Use stiffer straw or chill strawberries first
Problem: Incomplete core removal
Solution: Ensure straight, centered insertion
Problem: Strawberry splitting
Solution: Use riper berries and gentler pressure
Problem: Core stuck in straw
Solution: Blow through straw to clear or use multiple straws
Advanced Techniques
For professional results:
- Batch processing: Prepare multiple straws for assembly line work
- Angle variation: Create different cavity shapes for stuffing
- Size matching: Use different straw sizes for different berries
- Pre-chilling: Refrigerate strawberries for firmer texture
Creative Applications
Beyond basic stem removal:
- Stuffed strawberries: Perfect cavity for fillings
- Chocolate dipping: Clean stem area for even coating
- Salad preparation: Uniform berries for presentation
- Preserving: Whole berries without tough cores
FAQs
Q. Will this work with other types of berries?
A. Yes, though larger straws may be needed for bigger berries like large strawberries.
Q. Are there reusable alternatives to plastic straws?
A. Metal straws work but may require more force; silicone straws can be too flexible.
Q. What about very small strawberries?
A. Use coffee stirrer straws or cocktail straws for smaller berries.
Q. Is there risk of pushing through fingers?
A. Minimal if you hold the berry properly – keep fingers clear of exit point.
Q. Can I use this method for frozen strawberries?
A. Not recommended – frozen berries are too hard and may damage the straw.
Historical Context
This technique gained popularity through:
- 1970s home economics: Time-saving kitchen tricks
- 1990s cooking shows: Demonstration of clever techniques
- Internet era: Viral food hack videos
- Sustainable cooking: Reducing food waste movement
Alternative Methods Compared
When straws aren’t available:
- Paring knife: Traditional but slower method
- Huller tool: Specialized but single-purpose
- Twist method: Quick but wasteful
- Push method: Using spoon handle or similar tool
Safety Tips
- Hand position: Keep fingers away from exit point
- Surface use: Work on cutting board for stability
- Straw inspection: Check for sharp edges or damage
- Child supervision: Perfect for kids to help with supervision
Final Thoughts
That simple drinking straw you might otherwise discard holds the key to revolutionary strawberry prep. I’ve used this method for everything from quick family desserts to large-scale catering events, and it never fails to impress with its elegance and efficiency. The difference between hacking away with a knife and this precise, clean method isn’t just about time saved – it’s about respecting the fruit and preserving every possible bit of its sweet goodness.
Remember: the key is confident, straight pressure and choosing the right straw for your berries. With this technique to remove the stem of a strawberry with a straw, you’ll never dread strawberry prep again, and your desserts will showcase perfectly prepared berries every time.