
How to Coat Measuring Cups With Cooking Spray for Sticky Ingredients?
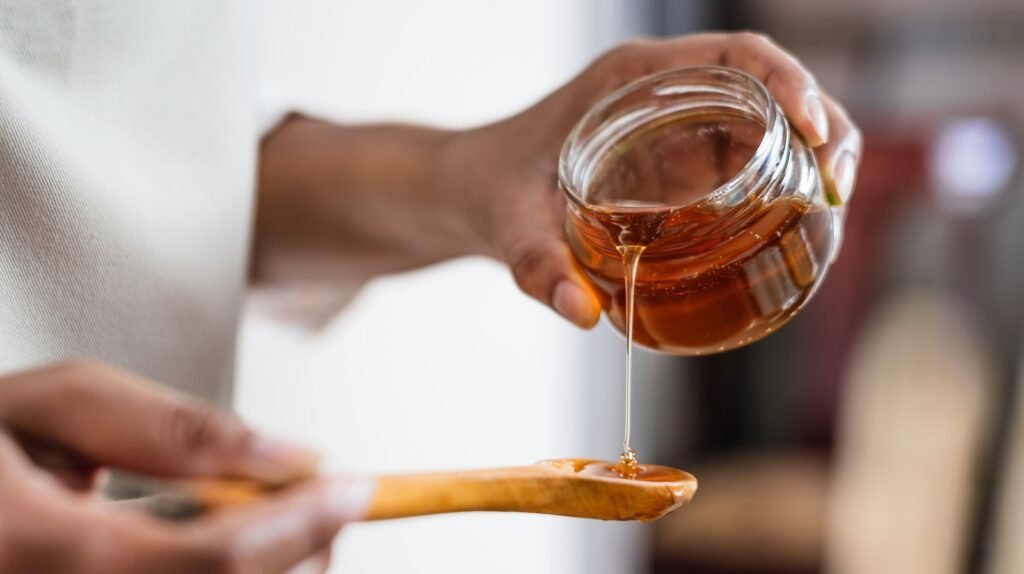
I’ll never forget the frustration of watching half my honey stubbornly cling to the measuring cup instead of sliding into my recipe. After years in professional kitchens and countless batches of sticky substances, I’ve mastered the art of preparing measuring cups to release even the most adhesive ingredients perfectly. This simple technique to coat measuring cups with cooking spray for sticky ingredients will transform your baking experience and ensure accurate measurements every time.
Why Proper Coating Matters for Measurement Accuracy
Understanding the science behind this technique reveals its importance:
- Measurement precision: Prevents ingredient loss that affects recipe ratios
- Time efficiency: Reduces scraping and wasted effort
- Recipe consistency: Ensures identical results batch after batch
- Waste reduction: Maximizes ingredient utilization
- Cleanup ease: Makes washing significantly easier
Key Coating Science Terms
- Non-stick properties: Creating a barrier between surface and ingredient
- Surface tension: Liquid’s tendency to adhere to surfaces
- Viscosity: Thickness and flow resistance of ingredients
- Release agents: Substances that prevent sticking
Step-by-Step Perfect Coating Technique
Preparation and Tool Selection
- Choose appropriate spray: Neutral oil sprays work best
- Select proper cups: Use clear cups for visibility
- Work environment: Clean, dry surface with good lighting
- Have tools ready: Paper towels for excess spray
The Coating Process
- Clean and dry cup: Ensure no moisture or residue
- Hold at angle: 45-degree angle for even coverage
- Spray distance: 6-8 inches from surface
- Brief bursts: 1-2 second sprays rather than continuous
- Rotate cup: Cover all interior surfaces evenly
- Distribute evenly: Tilt to coat all areas
- Drain excess: Invert briefly over sink or towel
- Proceed immediately: Use before spray settles unevenly
Pro Tip: For extra sticky ingredients, chill the measuring cup first for better spray adhesion
Ingredient-Specific Coating Guide
| Ingredient Type | Spray Type | Special Techniques | Common Mistakes |
|---|---|---|---|
| Honey/Syrup | Canola spray | Warm cup slightly | Using too much spray |
| Molasses | Butter spray | Double coating | Not coating rim |
| Peanut butter | Coconut spray | Chill ingredient first | Rushing the process |
| Shortening | Olive oil spray | Use pastry brush | Skipping edges |
| Marshmallow | Avocado spray | Freeze briefly | Inadequate coverage |
The Science Behind Effective Release
Understanding why this works:
- Molecular barrier: Oil creates slippery surface layer
- Reduced adhesion: Prevents chemical bonding to surface
- Surface energy alteration: Changes how liquids interact with cup
- Temperature effects: Cold enhances spray effectiveness
Advanced Techniques
For professional results:
- Brush method: Use pastry brush for precise application
- Double coating: Light spray, chill, then second coat
- Specific oils: Match spray type to ingredient being measured
- Pre-measured liners: Use plastic wrap as removable barrier
Troubleshooting Common Problems
Problem: Spray pooling in bottom
Solution: Use shorter bursts and rotate cup while spraying
Problem: Ingredients still sticking
Solution: Ensure cup is completely dry before spraying
Problem: Oily residue in recipe
Solution: Use minimal spray and drain excess properly
Problem: Spray clogging
Solution: Clean nozzle after use and store upright
Alternative Methods
When cooking spray isn’t available:
- Oil brush: Apply liquid oil with pastry brush
- Butter coating: Use butter wrapper or fingers
- Water method: For certain sticky liquids (not oils)
- Parchment liner: Create disposable cup liner
Measurement Accuracy Considerations
- Spray accounting: Remember spray adds minimal weight
- Meniscus reading: Ensure proper measurement level viewing
- Temperature effects: Warm ingredients measure differently
- Settling time: Allow ingredients to settle for accuracy
FAQs
Q. Does cooking spray affect measurement accuracy?
A. The weight is negligible (approximately 0.1g per spray) for most home baking purposes.
Q. Can I use this method for dry ingredients?
A. Not recommended – it can cause clumping and inaccurate measurements for flour and powders.
Q. How long does the coating last?
A. Use immediately after spraying for best results – effectiveness diminishes over time.
Q. Is there a risk of oil going rancid?
A. Minimal if cups are washed after use, but don’t pre-spray cups for storage.
Q. Can I use this for liquid measuring cups?
A. Yes – particularly effective for thick liquids and syrups.
Historical Context
Measurement techniques evolution:
- Traditional methods: Butter and flour coating
- Commercial kitchens: Professional release agents
- Home kitchen adaptation: Cooking spray innovation
- Modern precision: Scientific approach to measurement
Specialty Ingredient Tips
For challenging substances:
- Maple syrup: Light coating, warm cup slightly
- Blackstrap molasses: Double coating recommended
- Coconut oil: No coating needed if measured warm
- Corn syrup: Minimal coating required
Final Thoughts
Properly coating your measuring cups might seem like a small step, but it makes a significant difference in measurement accuracy and recipe success. I’ve used this technique to coat measuring cups with cooking spray for sticky ingredients in everything from delicate pastry work to large-scale commercial baking, and the consistency it provides is invaluable. The few seconds spent preparing your measuring cups will save you time, ingredients, and frustration in the long run.
Remember: light, even coverage and immediate use are the keys to success. With this technique, you’ll never struggle with stuck ingredients again.