
How to Make Homemade Ice Cream Using a Blender?
I’ll never forget my first attempt at making ice cream without an ice cream maker. After hours of hand-churning and disappointment, I discovered my blender could create creamy, dreamy ice cream in minutes. Through countless batches and flavor experiments in my test kitchen, I’ve perfected the blender method that rivals any fancy machine. Whether you’re craving classic vanilla or adventurous flavors, this technique to make homemade ice cream using a blender will transform your blender into an ice cream powerhouse.
Why Your Blender Makes Perfect Ice Cream
Understanding the science helps master the technique:
- Emulsification: Blender blades create smooth texture
- Air incorporation: Whipping action adds lightness
- Temperature control: Rapid processing prevents ice crystals
- Customization: Easy flavor adjustments mid-process
Key Ice Cream Science Terms
- Overrun: Air content in ice cream
- Freezing point depression: How sugar affects freezing
- Fat globules: Milk fats that create creaminess
Essential Equipment & Ingredients
Blender Requirements
- High-powered blender: 1000+ watts ideal
- Tampers: For pushing ingredients down
- Variable speeds: Low start to high finish
Base Ingredients
- 2 cups heavy cream (35% fat)
- 1 cup whole milk
- 3/4 cup sugar
- 1 tbsp vanilla extract
- 1/4 tsp salt
Step-by-Step Blender Method
1. Pre-Chill Components
- Freeze blender jar for 1 hour
- Chill dairy ingredients overnight
- Prepare ice bath for after blending
2. Create Base Mixture
- Blend milk and sugar for 30 seconds
- Add cream gradually while blending
- Incorporate vanilla and salt
- Blend until sugar fully dissolves (~1 minute)
3. Freeze & Finish
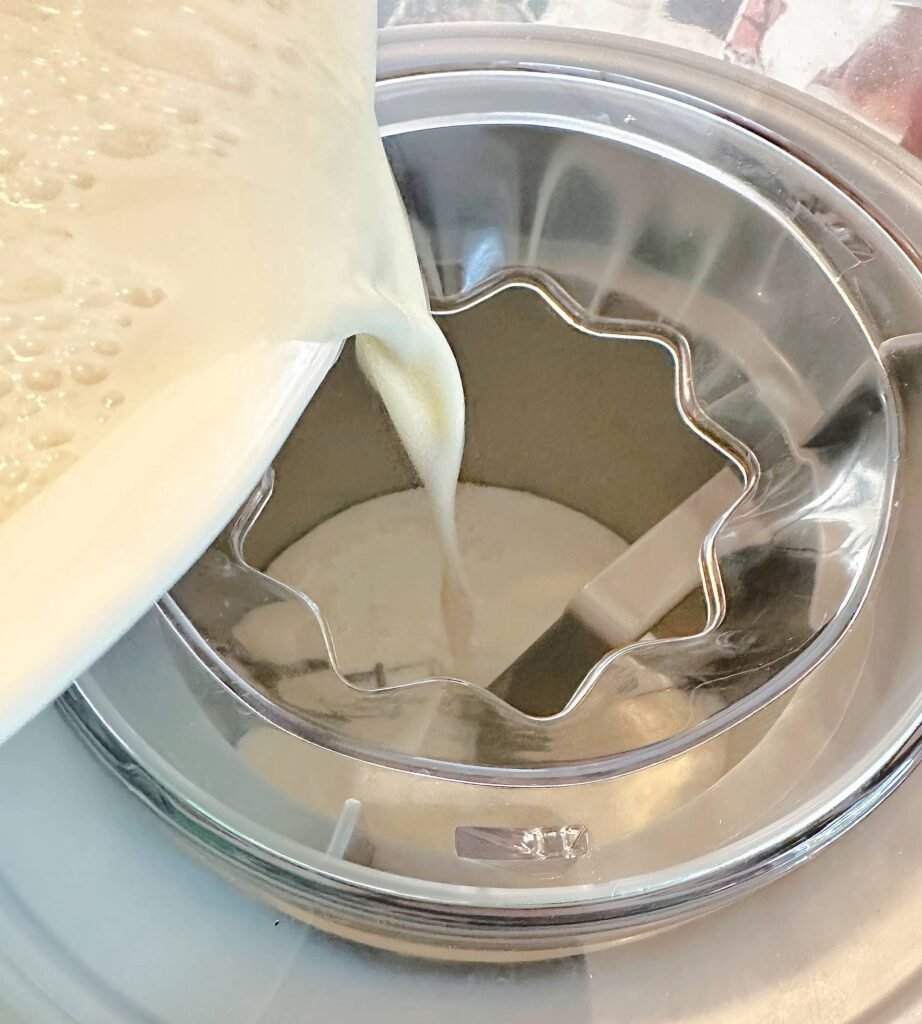
- Pour into freezer-safe container
- Freeze for 1 hour
- Re-blend for 30 seconds
- Final freeze for 4 hours
Pro Tip: For richer texture, add 1 tbsp vodka or 1/4 cup condensed milk
Texture Troubleshooting Guide
| Issue | Cause | Solution |
|---|---|---|
| Icy texture | Insufficient fat | Add 2 tbsp butter |
| Too hard | Low sugar | Increase sugar by 2 tbsp |
| Grainy | Undissolved sugar | Blend base longer |
| Too soft | High air content | Reduce blending time |
Flavor Variations to Try
- Chocolate: Add 1/2 cup cocoa powder
- Fruit: Blend in 1 cup frozen fruit
- Coffee: Dissolve 2 tbsp instant espresso
- Cookies: Pulse in 1/2 cup crushed cookies
The Science Behind Blender Ice Cream
Three key principles at work:
- Colloid formation: Fat droplets disperse evenly
- Crystal inhibition: Rapid mixing prevents large ice crystals
- Protein unfolding: Milk proteins create smooth texture
Advanced Techniques
For professional-quality results:
- Stabilizer addition: 1/4 tsp xanthan gum
- Egg custard base: For French-style texture
- Liquid nitrogen finish: Ultra-smooth texture
- Layer freezing: Alternate flavors in container
Storage & Serving Tips
- Parchment press: Place on surface before final freeze
- Scooping hack: Dip scoop in hot water
- Storage containers: Use shallow airtight boxes
- Reviving frozen: Blend for 10 seconds if too hard
FAQs
Q. Can I use a regular blender?
A. Yes, but may require more scraping and longer blending.
Q. How long does homemade ice cream last?
A. 2-3 weeks in freezer, best within 7 days.
Q. Why is my ice cream melting fast?
A. Likely needs more fat or stabilizers – try adding cream cheese.
Q. Can I make dairy-free versions?
A. Yes, use full-fat coconut milk as base.
Q. How do I prevent freezer burn?
A. Press plastic wrap directly on surface before sealing.
Historical Context
Blender ice cream evolved from:
- 1930s: Early blender inventions
- 1950s: Home freezer adoption
- 1970s: Health food movement adaptations
- 2000s: High-powered blender innovations
Alternative Methods Compared
| Method | Time | Equipment Needed | Texture Quality |
|---|---|---|---|
| Blender | 15m | Blender | Very Good |
| Machine | 45m | Ice cream maker | Excellent |
| Bag method | 30m | Bags, ice | Good |
| Hand-churn | 60m+ | Bowl, whisk | Fair |
Safety Tips
- Avoid overfilling: Leave 1/3 blender space
- Secure lid: Use tamper, not utensils
- Monitor temperature: Don’t blend more than 2 minutes
- Clean immediately: Prevents blade sticking
Final Thoughts
That powerful blender sitting on your counter is secretly an ice cream machine in disguise. I’ve served this blender ice cream to discerning food critics and kids alike, and no one ever guesses it wasn’t made with expensive equipment. The beauty lies in its simplicity and adaptability – you can adjust flavors on the fly and enjoy fresh ice cream whenever the craving strikes.
Remember: the key is starting with chilled ingredients and not over-processing. With this method, you’re always just minutes away from creamy, dreamy homemade ice cream. Now go forth and blend up your perfect frozen treat!