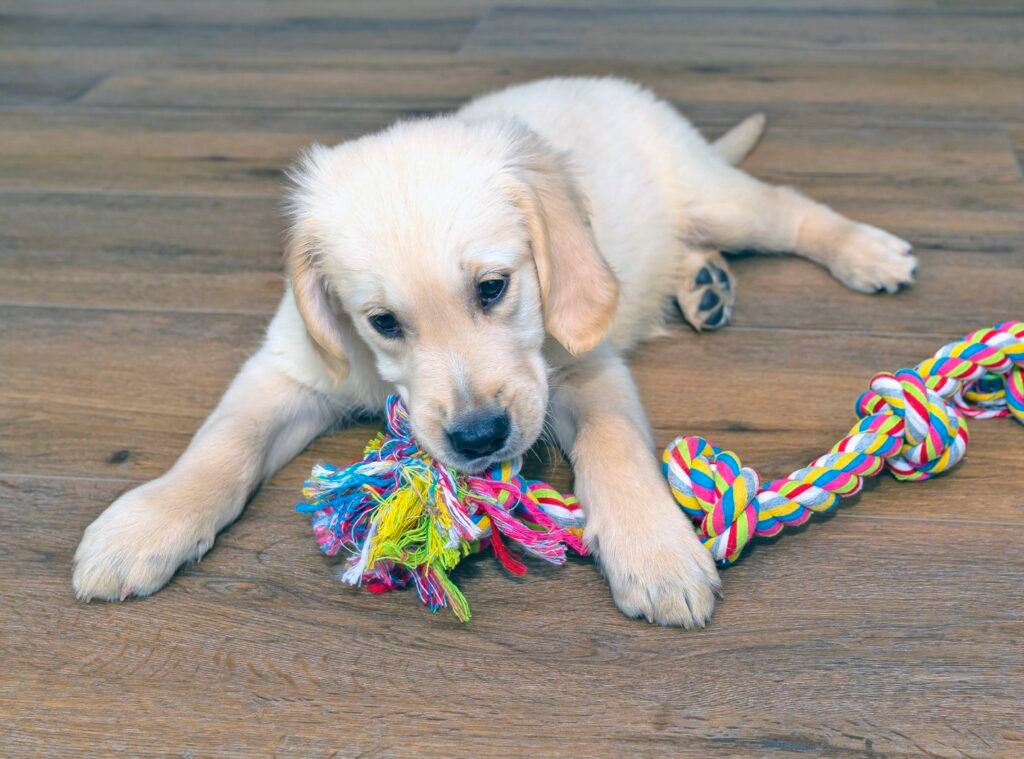
DIY Dog Toy Rope from Old T-Shirts: A Fun and Eco-Friendly Project
If you’re looking for a fun and sustainable way to entertain your dog, consider making your own dog toy rope using old t-shirts. Not only does this DIY project help you recycle fabric, but it also provides your furry friend with a durable, customizable, and chew-friendly toy. In this article, we’ll guide you through the steps of creating a simple, safe, and enjoyable DIY dog toy rope old t-shirts.
Why Choose DIY Dog Toys?
DIY dog toys offer numerous benefits, including:
- Cost-Effective: Instead of purchasing expensive dog toys, you can use old t-shirts, saving money while providing your dog with a fun plaything.
- Eco-Friendly: Repurposing old clothing prevents waste from ending up in landfills, making it an environmentally responsible choice.
- Customizable: You can tailor the size and design of the toy to suit your dog’s preferences and needs.
- Safe: DIY toys are made from materials you choose, ensuring they’re free from harmful chemicals or unsafe components that can sometimes be found in mass-produced toys.
Materials You’ll Need
The materials for creating a dog toy rope are simple and easy to gather. Here’s what you’ll need:
- Old t-shirts (preferably cotton)
- Scissors
- A ruler or measuring tape (optional, for precision)
- A sturdy knotting technique
- A dog-friendly space (to test the toy once completed)
Step-by-Step Guide to Making a Dog Toy Rope from Old T-Shirts
1. Choose Your T-Shirts
Select a few old t-shirts that are in good condition. Cotton shirts work best because they are soft yet strong, making them comfortable for your dog to chew on. Choose shirts that have a sturdy texture, avoiding fabrics that may fray too easily or have intricate designs that might not hold up well during play.
2. Cut the T-Shirts Into Strips
Start by laying the t-shirt flat on a surface. Use scissors to cut the shirt into strips that are about 1 to 2 inches wide. If you want a thicker rope, you can cut thicker strips or use multiple t-shirts to create a multi-colored, braided design. You’ll need several strips to make a sturdy rope, so aim for 6 to 8 strips depending on the desired length.
3. Stretch the Strips
After cutting, gently stretch each strip to make them slightly longer. This helps the fabric become more pliable and less likely to fray when knotted. You can do this by pulling the strips between your hands or by gently tugging on each end. Stretching also gives the fabric a more uniform look and feel.
4. Knot the Strips Together
Take three or more fabric strips and lay them flat next to each other. Align the ends and tie a knot at one end, securing the strips together. This will form the base of your dog toy rope. Make sure the knot is tight to prevent it from unraveling during playtime.
5. Braid the Strips
Now comes the fun part! Start braiding the fabric strips just like you would braid hair. Take the left strip and cross it over the middle strip. Then take the right strip and cross it over the new middle strip. Repeat this process until you’ve braided the strips all the way to the end.
If you want to create a thicker rope, you can braid multiple sets of strips together, or even twist them into a double-layered braid for added durability. You can experiment with different braiding techniques, such as a basic three-strand braid or a more complex four-strand braid, depending on the thickness and look you desire.
6. Tie the End of the Rope
Once you’ve braided the rope to the desired length, tie a secure knot at the end to keep the braid in place. This will help prevent the braid from unraveling while your dog plays with it. You can also tuck the ends of the fabric under the final knot for added security.
7. Trim Any Excess Fabric
If the ends of the strips are uneven or frayed, trim them to create a neater appearance. You can also trim the knots if they seem too bulky, making the toy more comfortable for your dog to play with.
8. Test the Toy
Finally, give the rope toy to your dog and see how they like it. You can use the toy for tug-of-war, fetch, or simply as a chew toy. If your dog tends to be a heavy chewer, keep an eye on the rope’s condition and replace it when it shows signs of wear.
Tips for Making a Durable Dog Toy Rope
- Double the fabric: For added strength, use double the amount of fabric strips and braid them together. This will create a thicker and more durable rope.
- Vary the colors: Using t-shirts in different colors can create a fun, visually appealing toy. You can even coordinate the colors to match your dog’s personality or your home decor.
- Add a treat pouch: If you want to make the toy even more exciting for your dog, you can tie a small pouch at the end of the rope and insert a dog treat. This will give your dog an added incentive to play with the rope.
- Regular inspection: Always check the toy regularly for wear and tear. If the fabric begins to fray or the knots come undone, it’s time to replace the rope.
Conclusion
Creating a DIY dog toy rope from old t-shirts is a fun, inexpensive, and environmentally friendly project that both you and your dog will enjoy. Not only does it provide your dog with a safe and engaging toy, but it also helps you reduce waste and repurpose old clothing. With just a few simple materials, you can create a durable and customizable rope toy that your dog will love. Happy crafting!

