
DIY Floating Shelves No Tools: A Simple Guide
Floating shelves can be an elegant and practical addition to any home, providing storage space and style without taking up floor space. The best part? You can create floating shelves without the need for power tools or complicated installations. If you’re looking to add some chic, functional shelving to your home with minimal effort, this guide will show you how to make DIY floating shelves no tools.
What Are Floating Shelves?
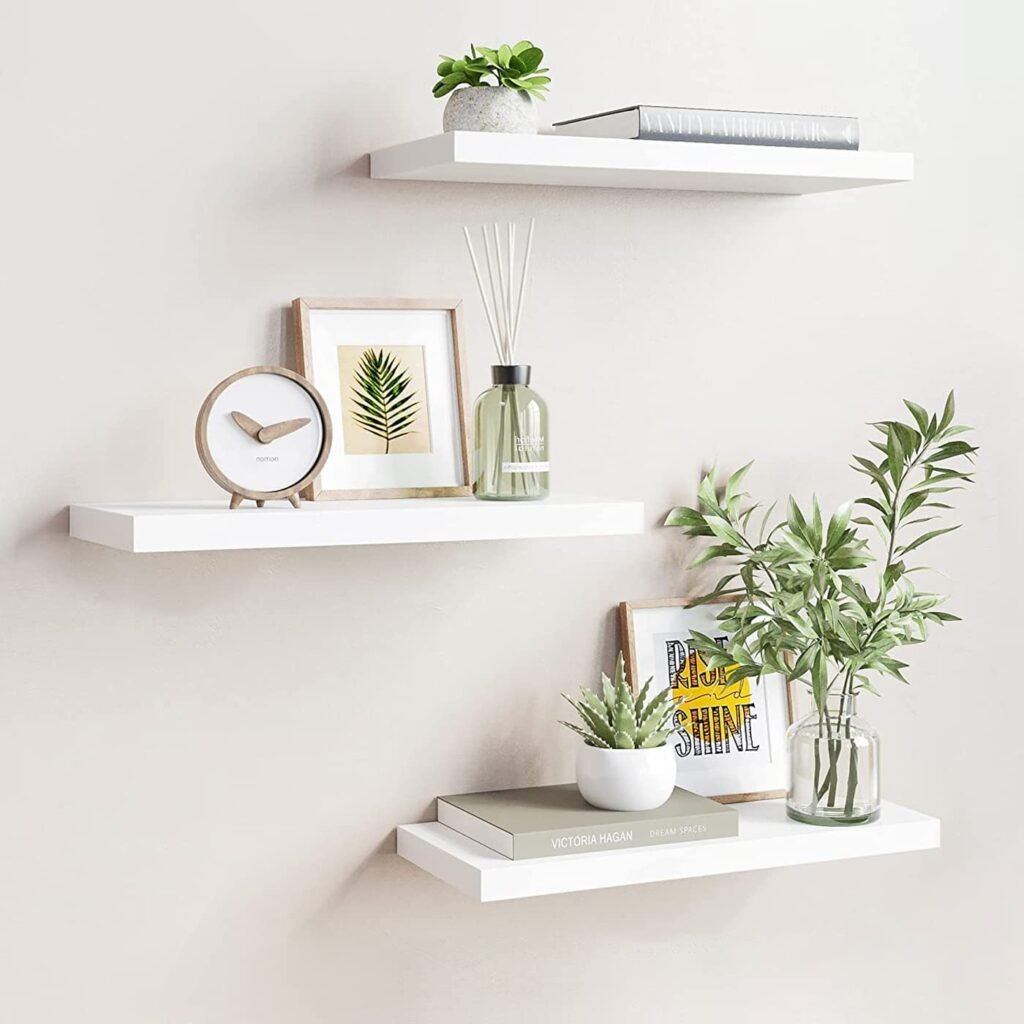
Floating shelves are shelves that appear to “float” on the wall without visible supports. They offer a sleek, modern look, and because the brackets are hidden, they don’t detract from the design of the space. The minimalist appeal of floating shelves makes them perfect for small spaces or for displaying books, plants, and decorative items in a stylish way.
In this article, we’ll explore how you can build and install these beautiful shelves without any power tools, using simple materials you can find around your home.
Materials You’ll Need:
- Wooden planks (for the shelf surface)
- Industrial strength adhesive or mounting tape (heavy-duty double-sided tape or construction adhesive works best)
- Brackets or hidden supports (optional, for added stability)
- Measuring tape
- Pencil (for marking)
- Level (optional but useful for ensuring your shelves are even)
- Sandpaper (optional, for finishing the wood)
- Paint or stain (optional, for aesthetic purposes)
Step-by-Step Guide to Making Floating Shelves Without Tools
1. Choose Your Shelf Material
For your floating shelves, you’ll need wooden planks. You can choose wood from a local hardware store, repurpose old furniture, or even use thick plywood. The size of the plank will depend on the amount of space you want to cover and how much weight it needs to hold.
- Small to Medium Shelves: A single plank with a thickness of about 1-2 inches works well.
- Large Shelves: Consider using thicker wood or adding hidden support beneath the shelf for stability.
Once you’ve chosen your wood, sand it smooth and finish it with paint or stain if desired. This step is optional but can enhance the shelf’s aesthetic.
2. Mark the Wall
Use a measuring tape to determine the height and placement of your shelves. Mark where you want your shelves to go on the wall with a pencil. Ensure the marks are level, so your floating shelves appear straight once installed.
Tip: If you are installing multiple shelves, make sure to measure the distance between them to ensure they are evenly spaced.
3. Prepare the Adhesive or Mounting Tape
For this no-tools method, you’ll rely on a strong adhesive or heavy-duty double-sided mounting tape to affix the shelves to the wall.
- Heavy-duty Double-Sided Tape: This tape can hold moderate weight and is ideal for small to medium-sized shelves.
- Construction Adhesive: If you are looking for something more permanent, construction adhesive offers a stronger hold.
Apply the adhesive to the back of the wooden plank. Make sure to cover the edges and the middle of the plank for an even grip. For extra support, you can use multiple strips of tape or more adhesive, depending on the weight of the items you plan to place on the shelf.
4. Attach the Shelf to the Wall
Now that the adhesive is in place, carefully align the shelf with the markings on the wall. Press the shelf firmly against the wall, holding it for a few seconds to ensure a good bond.
For added security, you may want to support the shelf temporarily with a book or lightweight object while the adhesive cures (which can take up to 24 hours depending on the type you use). Avoid placing heavy items on the shelf until the adhesive has fully set.
5. Optional: Add Hidden Brackets or Supports
While the adhesive will do most of the work, adding hidden brackets or supports can help give your floating shelf a more robust and secure foundation.
You can make hidden supports by attaching small wooden blocks to the wall behind the shelf. Once the adhesive has set, slide the shelf over these supports for extra stability. This step is optional but can provide peace of mind if you’re planning to place heavier items on the shelf.
6. Style Your Floating Shelves
Once the shelf is secure, you can begin styling it with your favorite decor. Place books, plants, candles, or any other decorative items you love. Since floating shelves are so minimalist, they allow your decorative pieces to truly stand out.
Tips for Success
- Consider Shelf Placement: Avoid placing shelves in areas where they may get bumped or knocked frequently. Floating shelves work best in low-traffic areas such as above desks, in bathrooms, or as display areas for artwork and plants.
- Weight Limits: Make sure you are mindful of the weight of the items you place on the shelves. While adhesives can hold a fair amount, avoid overloading the shelf with heavy items like large books or electronics.
- Test Before Finalizing: Before applying the adhesive or tape, test the shelf placement by temporarily holding it in place with a bit of tape. This ensures you are happy with the position before making it permanent.
Conclusion
Building floating shelves without using tools is a simple, accessible DIY project that can be accomplished in just a few hours. With the right materials—wood, adhesive, and a little creativity—you can easily install beautiful floating shelves that add a modern touch to your home. Whether you’re storing items or displaying decor, these shelves will help you make the most of your space, even without power tools.