
How to Build DIY Floating Shelves Without Power Tools: A Step-by-Step Guide
Floating shelves are an excellent way to add both style and functionality to your space. They’re sleek, minimalist, and can be used for everything from books and decor to kitchen items or bathroom essentials. While most floating shelves require power tools to cut wood or install brackets, it is entirely possible to create beautiful, functional floating shelves without the need for power tools. Whether you’re a DIY novice or looking for a more accessible project, building floating shelves by hand is an easy, cost-effective way to add storage and style to your home. In this article, we will guide you through how to build DIY floating shelves without the use of power tools, focusing on simple materials and techniques that anyone can use to complete the project.
Materials You’ll Need:
- Wood for shelves: Select a wooden board (pine, oak, or MDF) based on the size and style you want for your shelves.
- Brackets or shelf supports: These can be store-bought or custom-made from scrap wood or metal strips.
- Measuring tape: To ensure your shelves are level and the correct size.
- Saw (manual): A hand saw will work if you need to cut your wood to size.
- Screws: For attaching the shelf brackets or supports to the wall.
- Drill or screwdriver: For screwing the shelf supports to the wall and shelf board.
- Level: To make sure the shelves are straight and level.
- Wood glue: To secure the shelf to its supports if needed.
- Sandpaper: To smooth the edges of the wood and ensure a finished look.
- Wall anchors: If you’re mounting the shelves on drywall, you’ll need these to provide extra support.
- Finish (optional): Stain, paint, or a clear wood finish to seal and finish your shelves.
Step-by-Step Guide to Making Floating Shelves Without Power Tools
Step 1: Measure and Plan the Size of Your Shelves
Start by deciding where you want to place your floating shelves and how long and deep you want them to be. Consider what you will be storing on the shelves and make sure they are large enough to accommodate the items but not so large that they overwhelm the space.
- Measure the space: Use a measuring tape to measure the length and depth you want your floating shelves to have. Typically, floating shelves are between 8 to 12 inches deep, but you can adjust based on your needs.
- Choose your wood: Select a piece of wood that fits your measurements. If needed, you can cut your wood to size manually using a handsaw (more on that later).
- Decide on the number of shelves: Plan how many floating shelves you need and how they will be spaced vertically to ensure they look balanced and functional.
Step 2: Cut the Wood to Size
If you’ve bought a piece of wood that is too large for your space or desired shelf size, you’ll need to cut it. A manual saw is an inexpensive and simple tool that can be used to cut through most types of wood.
- Mark the wood: Use a pencil and measuring tape to mark the areas where you want to cut.
- Saw the wood: Using a handsaw, cut along the marks. For a clean cut, make sure to saw slowly and carefully to avoid splintering the edges.
Step 3: Sand the Edges and Surface
Once the wood is cut to the desired size, use sandpaper to smooth the edges and surface. Sanding not only makes the wood more aesthetically pleasing but also ensures that there are no rough edges that could damage your walls or make the shelf uncomfortable to touch.
- Smooth the edges: Run sandpaper along the cut edges of the wood to remove any splinters.
- Sand the surface: If needed, use fine-grit sandpaper to smooth the top surface of the shelf, making it ready for staining or painting.
Step 4: Install the Brackets or Support System
Floating shelves require support, and while many people use traditional metal brackets, you can make simple wooden supports or find alternative materials.
Option 1: Using Store-Bought Floating Shelf Brackets
If you choose to use pre-made floating shelf brackets (available at most hardware stores), follow these steps:
- Mark the bracket placement: Use a measuring tape to mark where you want to place the brackets on the wall.
- Install the brackets: Drill pilot holes into the wall, ensuring that you are drilling into studs for maximum support. Use screws to secure the brackets to the wall.
Option 2: DIY Wooden Shelf Supports
For a more affordable, DIY approach, you can create your own floating shelf supports using wood or metal strips:
- Cut small wooden blocks or strips: If you’re using wood, cut small blocks or strips that will fit inside the back of the shelf.
- Attach the supports: Use wood glue and screws to attach the supports inside the shelf (the part that will be against the wall). These wooden supports will fit snugly into the wall-mounted brackets or directly into wall anchors.
Step 5: Mount the Shelves on the Wall
After installing the brackets or wooden supports, it’s time to mount the shelf. If you’re using store-bought floating brackets, this step will be straightforward, but if you’re using DIY supports, ensure that the support system is secure.
- Place the shelf onto the brackets: Once the brackets are securely attached to the wall, gently place the shelf onto the supports.
- Use wood glue (optional): If you want extra security, you can use wood glue along the edges of the supports before placing the shelf on them. This will help the shelf stay firmly in place.
- Check for level: Use a level to make sure the shelf is perfectly straight before securing it into place.
Step 6: Finish and Decorate
Now that the shelves are securely mounted, it’s time to add the finishing touches. You can paint or stain the wood to match your home decor, or leave the natural wood finish if you prefer a rustic look.
- Apply a finish: If desired, apply a coat of wood stain or paint to the shelves. Allow it to dry completely before placing items on the shelves.
- Seal the surface: For added protection, consider applying a clear wood finish to seal the wood and prevent wear and tear.
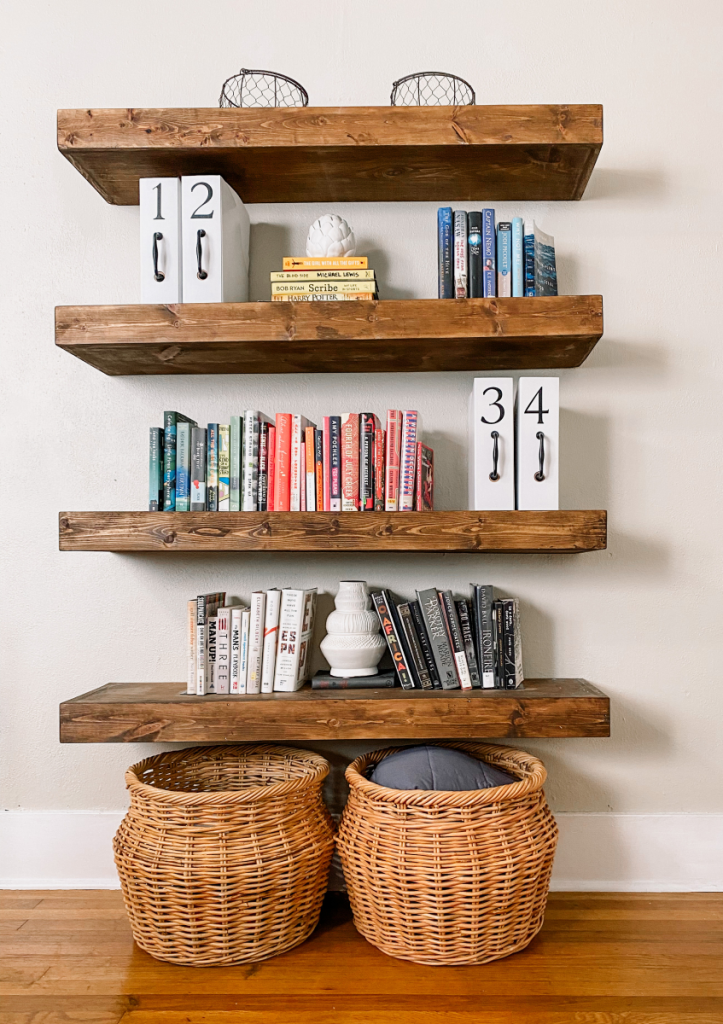
Step 7: Add Items to Your Floating Shelves
Once the shelves are mounted and the finish is dry, it’s time to add your belongings. Floating shelves are perfect for displaying books, plants, decorative objects, or personal items. Be mindful not to overload your shelves, as too much weight can cause them to sag or fall.
Tips for Success:
- Choose light materials: Opt for lighter wood or materials to ensure that the floating shelves are easier to install and carry less weight.
- Measure twice, cut once: Double-check all your measurements before cutting to avoid any mistakes.
- Secure with wall anchors: If you’re mounting the shelves on drywall, be sure to use wall anchors for added support, especially if you plan to store heavier items.
- Start small: If this is your first DIY project, start with one or two smaller floating shelves to get the hang of the process before scaling up.
Conclusion
Building DIY floating shelves without power tools is a simple and budget-friendly way to add stylish storage to your home. By using basic hand tools and inexpensive materials, you can create functional and beautiful floating shelves that complement any room. With careful planning, a little patience, and some creativity, you’ll have your own custom floating shelves that not only enhance your space but also showcase your DIY skills. So, roll up your sleeves, gather your materials, and get started on your next home project today!